Homemade Eskimo Pie Popsicle Recipe: 5 Simple Steps for a Creamy Treat
Introduction:
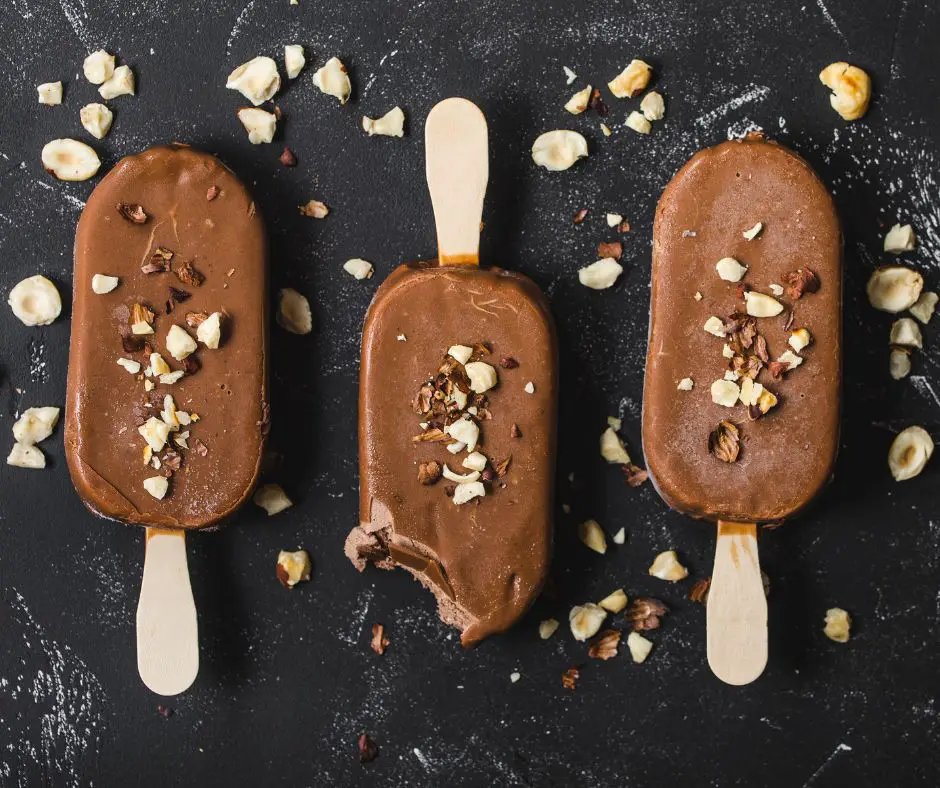
Eskimo Pie popsicles have always held a nostalgic charm for me, reminding me of hot summer days and cool, chocolate-covered ice cream. Making this homemade version takes me back to childhood but with a modern twist. It’s a fun and rewarding recipe that’s not only creamy and delicious but also allows you to experiment with different chocolate coatings and fillings. It’s quickly become a family favorite, especially for special occasions and weekend treats!
Recipe Details:
Ingredients List:
- 2 cups vanilla ice cream (store-bought or homemade)
- 1 ½ cups dark chocolate chips (or semi-sweet chocolate)
- 2 tbsp coconut oil (for smooth chocolate coating)
- 1 tsp vanilla extract (optional)
- Popsicle sticks
- Silicone popsicle molds
Step-by-Step Instructions:
1. Prep the Ice Cream:
Slightly soften the vanilla ice cream by leaving it out at room temperature for 5-10 minutes. Mix in the vanilla extract if you’d like an extra boost of flavor.
2. Fill the Molds:
Scoop the softened ice cream into popsicle molds. Insert popsicle sticks and place the molds in the freezer for at least 4 hours, or until completely solid.
3. Melt the Chocolate:
In a microwave-safe bowl, melt the chocolate chips and coconut oil in 20-second intervals, stirring in between until smooth. Allow the mixture to cool slightly but stay liquid.
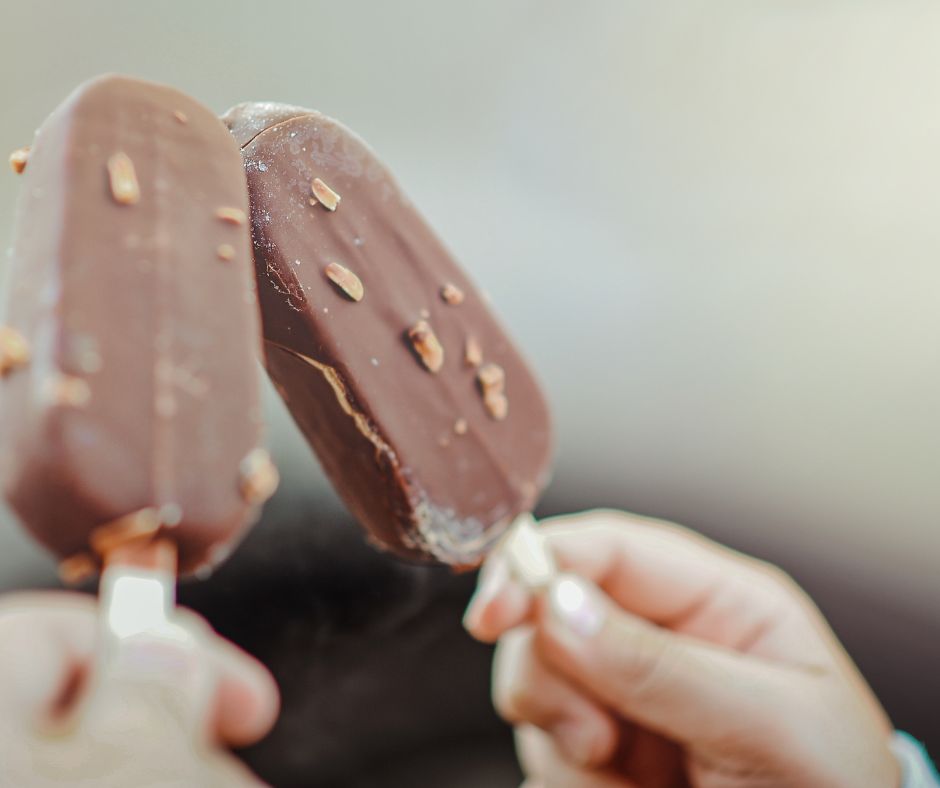
4. Dip the Popsicles:
Once the ice cream is fully frozen, remove each popsicle from the mold. Quickly dip them into the melted chocolate, ensuring they are evenly coated. The chocolate should harden within seconds. For a thicker coating, dip each popsicle twice.
5. Final Freeze:
Place the dipped popsicles on a baking sheet lined with parchment paper, and return them to the freezer for 10-15 minutes to ensure the chocolate sets completely. Serve and enjoy!
Unique Tips, Variations, and Insights:
Customization Tips:
- Flavor Variations: Swap out vanilla ice cream for flavors like chocolate, mint chip, or even fruit sorbet.
- Toppings: Before the chocolate hardens, sprinkle toppings such as crushed nuts, sprinkles, or coconut flakes for added texture and flavor.
- Dairy-Free Option: Use coconut or almond-based ice cream and dairy-free chocolate chips for a vegan version.

Expert Advice:
- Smooth Chocolate Coating: The coconut oil ensures the chocolate forms a smooth, shiny layer. Be sure not to overheat the chocolate to avoid it seizing.
- Double Coating for Crunch: For a thicker chocolate shell, dip the popsicles twice, allowing the first layer to harden before dipping again.
Cultural Context:
The Eskimo Pie, first introduced in the 1920s, was one of the first chocolate-covered ice cream treats to become a household name. This homemade version lets you recreate that same iconic flavor with a personalized twist.
Nutrition Facts (Per Serving):
- Calories: 320
- Fat: 22g
- Carbohydrates: 35g
- Protein: 4g
- Sugar: 28g

FAQ Section:
Q1: Can I use milk chocolate instead of dark chocolate?
A: Absolutely! Feel free to use your favorite chocolate type—milk, semi-sweet, or even white chocolate works well.
Q2: How long can these be stored in the freezer?
A: Homemade Eskimo Pie popsicles can be stored in an airtight container in the freezer for up to 2 weeks.
Q3: Do I need to use coconut oil in the chocolate coating?
A: While coconut oil helps the chocolate coat smoothly, you can use vegetable oil as a substitute or skip it, though the coating may not be as shiny.
Conclusion:
This homemade Eskimo Pie Popsicle recipe brings all the joy of the classic treat to your kitchen, with the added bonus of customization. Whether you’re making them for a summer party or just as a fun weekend activity, these popsicles are guaranteed to impress. Don’t forget to share your own creative variations and let me know how they turn out!


One Comment