Red Robin Mud Pie Kopy Kat Recipe: 7 Steps to Recreate the Iconic Dessert at Home
Introduction:
One of my fondest childhood memories is going to Red Robin and indulging in their decadent mud pie. The combination of rich chocolate, smooth ice cream, and the irresistible cookie crust made it the ultimate dessert treat. Wanting to enjoy that delicious dessert at home, I crafted this Kopy Kat recipe to replicate the same delightful experience. Whether it’s for a special occasion or just because you’re craving something sweet, this Red Robin Mud Pie Kopy Kat recipe has become a favorite in my house.

Recipe Details:
Ingredients List:
- 1 package of Oreo cookies (approx. 20 cookies)
- 1/4 cup melted butter
- 1 quart of vanilla or coffee ice cream (softened)
- 1/2 cup chocolate fudge sauce
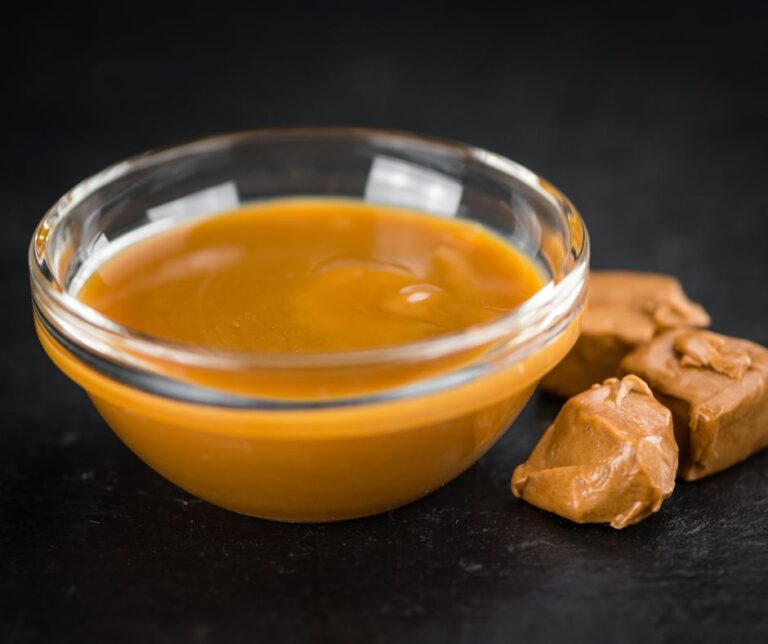
- 1/2 cup caramel sauce
- 1/4 cup chopped pecans or walnuts (optional)
- Whipped cream (for topping)
Substitutions:
- Use gluten-free Oreos for a gluten-free version.
- Swap vanilla ice cream with any favorite flavor like mint chocolate chip or chocolate peanut butter.
Step-by-Step Instructions:
1. Make the Cookie Crust:
Place Oreo cookies in a food processor and pulse until finely crushed. Mix the crushed cookies with melted butter until the mixture resembles wet sand. Press this mixture into the bottom of a springform pan to form the crust.
2. Freeze the Crust:
Place the crust in the freezer for about 30 minutes to firm up.
3. Layer with Ice Cream:
Once the crust is firm, spread the softened vanilla or coffee ice cream over the cookie crust, smoothing it out with a spatula.
4. Add Chocolate Fudge:
Drizzle the chocolate fudge sauce over the ice cream layer, ensuring it’s evenly distributed.
5. Layer with Caramel and Nuts:
Drizzle caramel sauce over the fudge and sprinkle chopped pecans or walnuts for added crunch (optional).
6. Freeze the Mud Pie:
Place the pie back in the freezer and allow it to freeze for at least 4 hours, or until the ice cream is firm.
7. Serve and Garnish:
When ready to serve, remove the pie from the freezer, top with whipped cream, and add extra drizzles of chocolate fudge and caramel sauce for a truly indulgent experience.
Unique Tips, Variations, and Insights:
Customization Tips:
- Add Layers: Add a layer of chocolate or coffee-flavored ice cream for a two-toned effect.
- For Extra Indulgence: Crush some toffee bits or add chocolate chips in between the layers of ice cream.
Expert Advice:
- Easier Serving: Run a warm knife along the edge of the springform pan before releasing it to ensure a clean cut when serving.
- Quick Assembly: If you’re short on time, use pre-made cookie crusts available in stores.
Cultural Context:
The mud pie is an American classic, often seen in diners across the U.S., but Red Robin’s take on this dessert has made it a standout favorite for many. This version mimics their indulgent twist on the beloved treat.
Nutrition Facts:
- Calories: 400 per slice (approx. 8 servings)
- Fat: 20g
- Carbohydrates: 45g
- Protein: 5g
- Sugar: 35g
(Values may vary based on specific ingredients and serving sizes.)
FAQ Section:
Q1: Can I make this recipe ahead of time?
A: Yes! You can prepare this mud pie up to 3 days in advance. Just store it in the freezer, covered tightly with plastic wrap.
Q2: How do I make this without a springform pan?
A: You can use a standard pie dish, but just be cautious when serving as it might be harder to remove the entire pie intact.

Q3: What if I don’t like nuts?
A: Feel free to leave them out! You can also replace them with crushed candies or chocolate chips for a different texture.
Conclusion:
This Red Robin Mud Pie Kopy Kat recipe has quickly become a go-to dessert in my kitchen. It’s the perfect combination of sweet, creamy, and crunchy, bringing all the nostalgia of dining out into the comfort of home. I hope you enjoy this as much as we do! Don’t forget to share your version of the mud pie in the comments and let me know how you made it your own!
